Who doesn’t love a crisp, vinegar-infused pickle that’s been marinating in the fridge for a few weeks? In the summer months especially, I find myself craving pickles between meals or as a late-night snack. Not to mention, they make the best side to homemade burgers or additions to cold sandwiches. And believe me when I say, they are so easy to make at home! I’ve been away on vacation for the past couple weeks and there’s nothing better than coming home to a few jars of pickles that have been soaking up all that dill and vinegar for the last few weeks.
I started making these pickles a couple years ago and since then, it’s been hard to go back to store-bought pickles. But naturally there are times when our lives get too busy and we just don’t have the time. The beauty of investing in some of the supplies early-on is most of the equipment lasts for quite a while (i.e. mason jars, fine sea salt, etc.). And depending on how much of the produce you have growing in a garden vs. buy from the store will make a (small) monetary difference. If you’re an online shopper, I linked as much as possible in my list below to make your first pickling process smoother.

Supplies needed:
Food needed:
- Dill seed
- Fresh dill (I used from my garden, but is generally $2-3 at the store)
- Heirloom pickle cucumbers/Kirby or salad cucumbers work well too (again here, I used cucumbers from my garden, but I have also used store-bought cucumbers and they work great as well; about $0.50 per cucumber)
- 100% fine sea salt
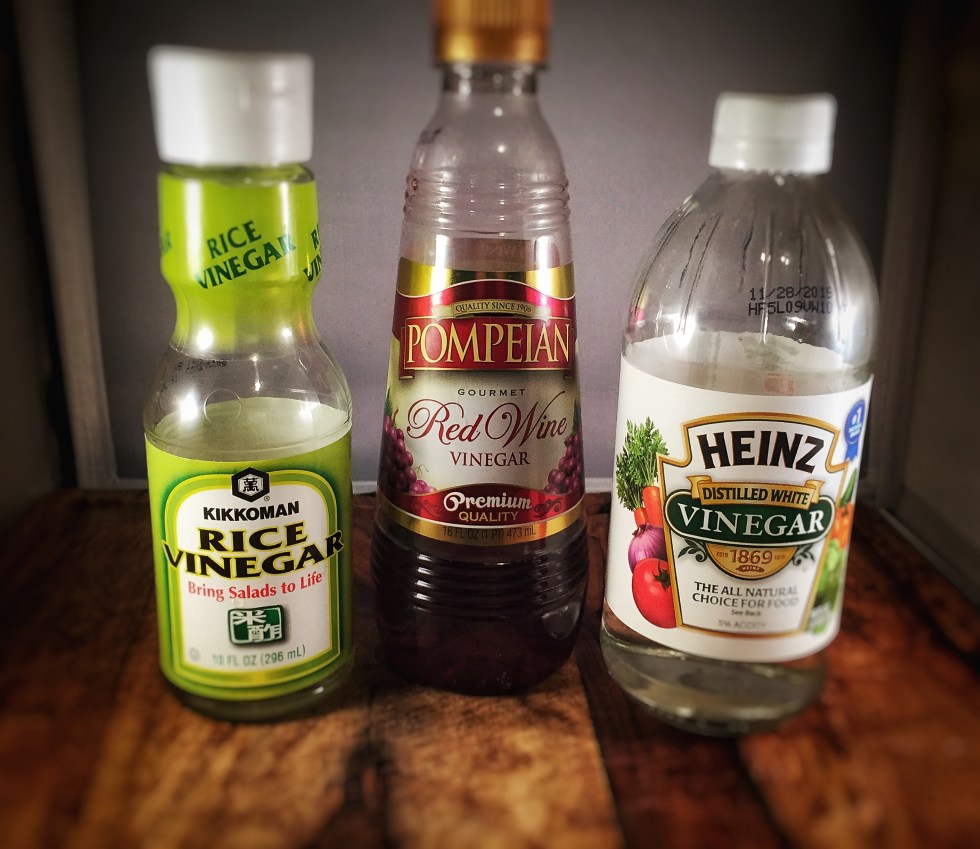
- White vinegar
- Garlic cloves (Depending on your local grocery store, about $0.69 each)
- Red pepper flakes (optional)
I anticipate many of you have a saucepan, metal whisk, cutting board, knife, and might be able to rig up a few old pickle jars to cut down on initial cost. The nice thing is the majority of the supplies will be used several times over so you’ll definitely get your money’s worth.
I started off by cleaning the mason jars. If you’re short on time like I was last time, I just stuck those babies in the dishwasher on quick cycle. Otherwise, washing the mason jars on hot, soapy water will do the trick. Now is when you’ll also want to wash your fresh dill and cucumbers.
Once the cucumbers are dry, slice off the ends and cut into wedges. You can also do pickle coins or halved-lengthwise…your choice!

Next, add your fresh dill, dill seed, garlic, and red pepper flakes (optional). You’ll want to use at least one sprig of fresh dill in each mason jar. I love fresh dill so for me, the more the merrier. But if you want to play it safe, stick with 1-2 sprigs of fresh dill per mason jar.


Now that the mason jars are prepped and ready to go, start adding your wedged cucumbers into each mason jar until full. Depending on how many cucumbers you have, you can really pack them in or just fill the mason jars evenly.


Once your done filling the jars with the cucumbers, it’s time to boil the water, vinegar, and salt in the saucepan. Once the salt is dissolved (about 4-5 minutes), set aside and let cool for about 15 minutes. Using the funnel, pour the vinegar-water mixture into each mason jar evenly leaving about an inch from the top. Tighten the top on each of the jars and place in the refrigerator for about 1 week before consuming. They should last about 2 months in the refrigerator. Keep in mind, these are not canned pickles so they should not be stored at room temperature for any extended period of time.
The beauty of learning this quick pickling method is you can apply it to most other fresh vegetables that you would like pickle. For example, radishes, carrots, green beans, and asparagus also pickle nicely. You can also try different spices, herbs, or vinegars with any of these vegetables.
Enjoy!

Dill Pickles
Ingredients
- 6-7 salad or kirby cucumbers
- 6-8 sprigs fresh dill
- 2 tbsp dill seed
- 2 tbsp 100% fine sea salt
- 2 cups white vinegar
- 2 cups water
- 4 garlic cloves
- red pepper flakes (optional)
Instructions
-
Wash mason jars with hot soapy water, dry, and set aside (you can also boil the jars in hot water for 10 minutes as well). If you’re short on time, I just ran mine through the dishwasher on quick wash.
-
Wash the cucumbers and fresh dill and pat dry.
-
Once dry, cut off the ends of each cucumber and cut into wedges.
-
Add one peeled garlic clove, 1/2 teaspoon of dill weed, 1-3 dill sprigs, and a pinch of red pepper flakes (optional) to each mason jar.
-
Fill each mason jar with the cucumber wedges.
-
Combine salt, vinegar, and water in a medium saucepan and bring to a boil. Boil until salt dissolves (~4-5 minutes).
-
Once the salt has dissolved into the vinegar and water, remove the saucepan from the heat, and pour the vinegar mixture equally into each mason jar, leaving 1/2-1 inch from the top of the jar. Let it sit and cool for at least 10-15 minutes.
-
Seal each jar with the lid and lightly tap on the top of the lid to help remove bubbles.
-
Refrigerate and allow at least 1 week for pickling before trying (longer if desired flavor-wise).